How to fix Sony WH-1000XM4 high-pitched noise/feedback
Fix high-pitched whine and feedback in Sony WH-1000XM4 headphones caused by contaminated ANC microphones. Step-by-step repair guide using isopropyl alcohol cleaning method.
Late night preamble
Growing up, I wasn’t very fussy about audio equipment. It was less that I couldn’t appreciate good audio and more that I couldn’t afford good audio.
My first pair of headphones were the cheapest NoFear cans SportsDirect had to offer. When they inevitably failed, I went through several wireless headphones over the next few years, starting at £15, slowly getting marginally more ‘premium’ each time I replaced a broken pair till about £45.
 £15 NoFear headphones from SportsDirect
Eventually after a lot of saving and a lot of research, I bought what at the time were considered the best active noise cancelling headphones on the market, the Sony WH-1000XM4, for my unreasonably long commute to school.
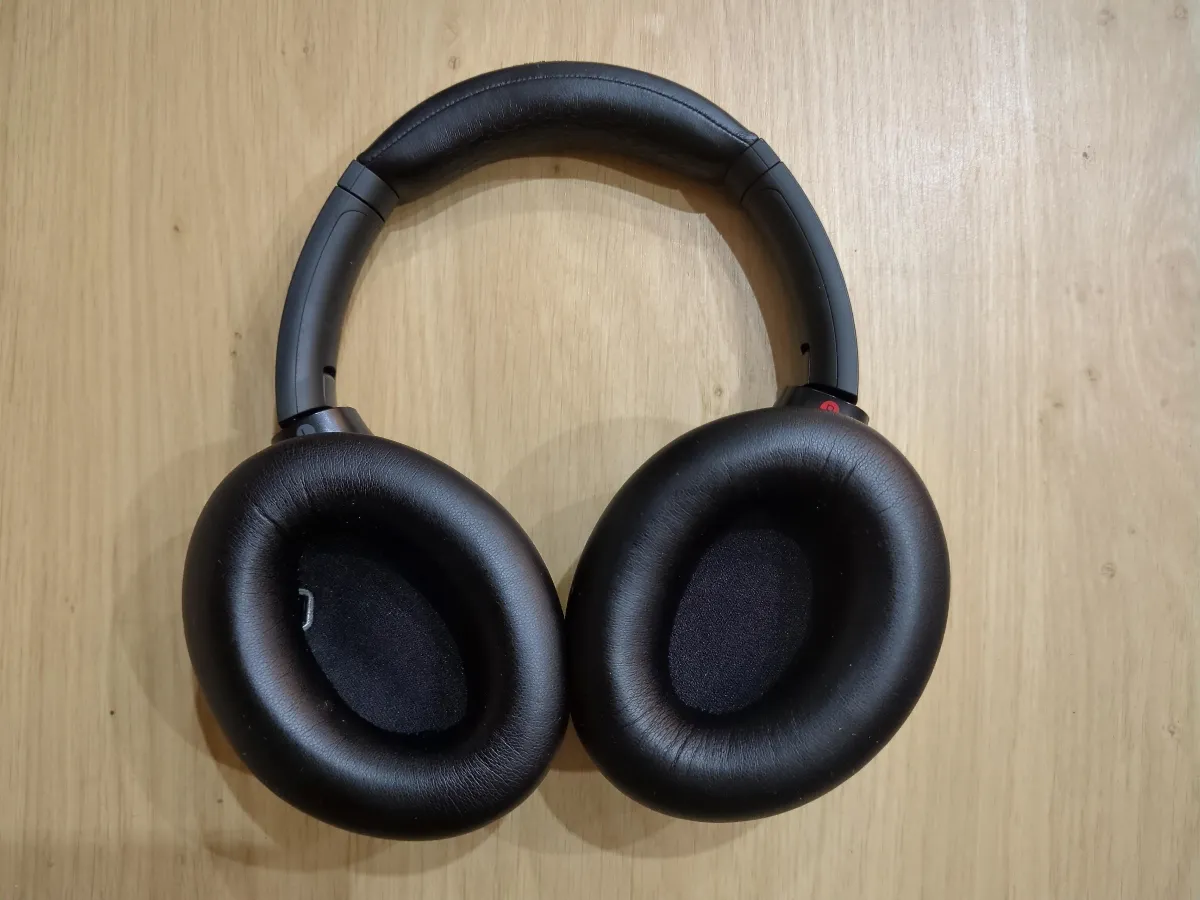 Sony WH-1000XM4 headphones
I’ve had these headphones for 5 years now and they’ve been absolutely flawless.
Until recently.
The problem
One day I put on the headphones and heard a strange distant whine from the left earcup. At first I thought nothing of it, but over the coming days the noise became louder and louder, to the point where the left earcup was screaming a constant tone when worn.
I tried rebooting the headphones, performing Active Noise Cancellation (ANC) altitude calibration, cleaning the earcups, but only two things seemed to have an impact. Disabling ANC/passthrough, or moving my ear away from the earcup. Yes, specifically my ear.
The left earcup has a proximity sensor for pausing the music when you’re not wearing the headphones, but this can be easily fooled by placing a finger over the sensor. Doing so, I would move the earcup towards my cheek or place my hand inside the earcup, but this wouldn’t reproduce the high pitched noise. Specifically my ears seemed to be the trigger. Either ear, flipping the headphones around to wear them the wrong way around like a psycho had the same impact.
In my research I was disappointed to find that there was not one single solution everyone has agreed works universally. Eventually, I took the plunge and tried the isopropyl alcohol (aka isopropanol) bath method, or I should say, my headphones took the plunge :)
It worked! And fortunately for you, my right earcup suffered the same fate a few months later, the repair process for which I have documented step by step below.
Solution
What you’ll need
- Isopropyl alcohol ≥99% purity
- Small bowl
- Butter knife or plastic prying tool
- Small flathead screwdriver (or similar) for unclipping the ANC microphone cover
This repair involves disassembling your headphones and could void your warranty. Proceed at your own risk.
Steps
- Remove the earcup - Unclip the earcup from the headphones by sliding a butter knife between the earcup and headphone body
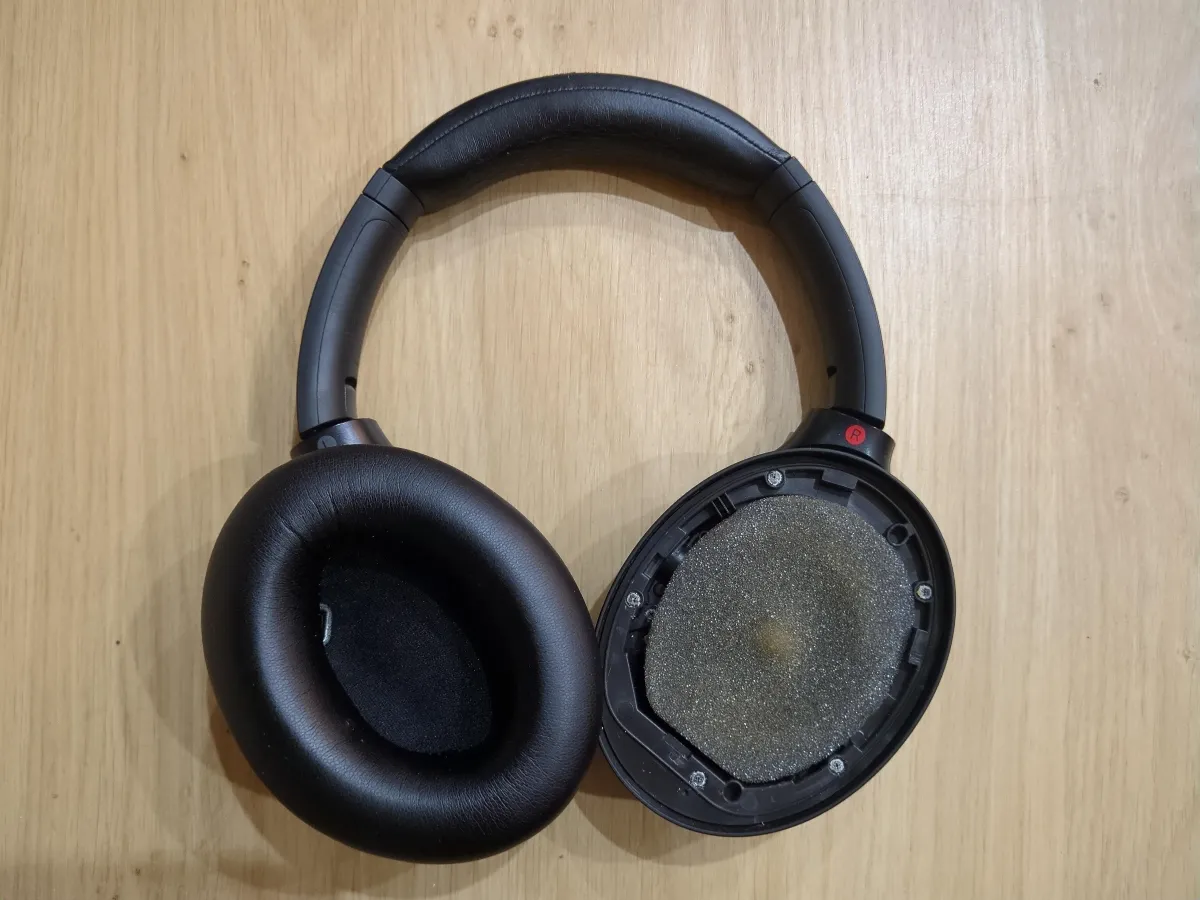 Right earcup removed
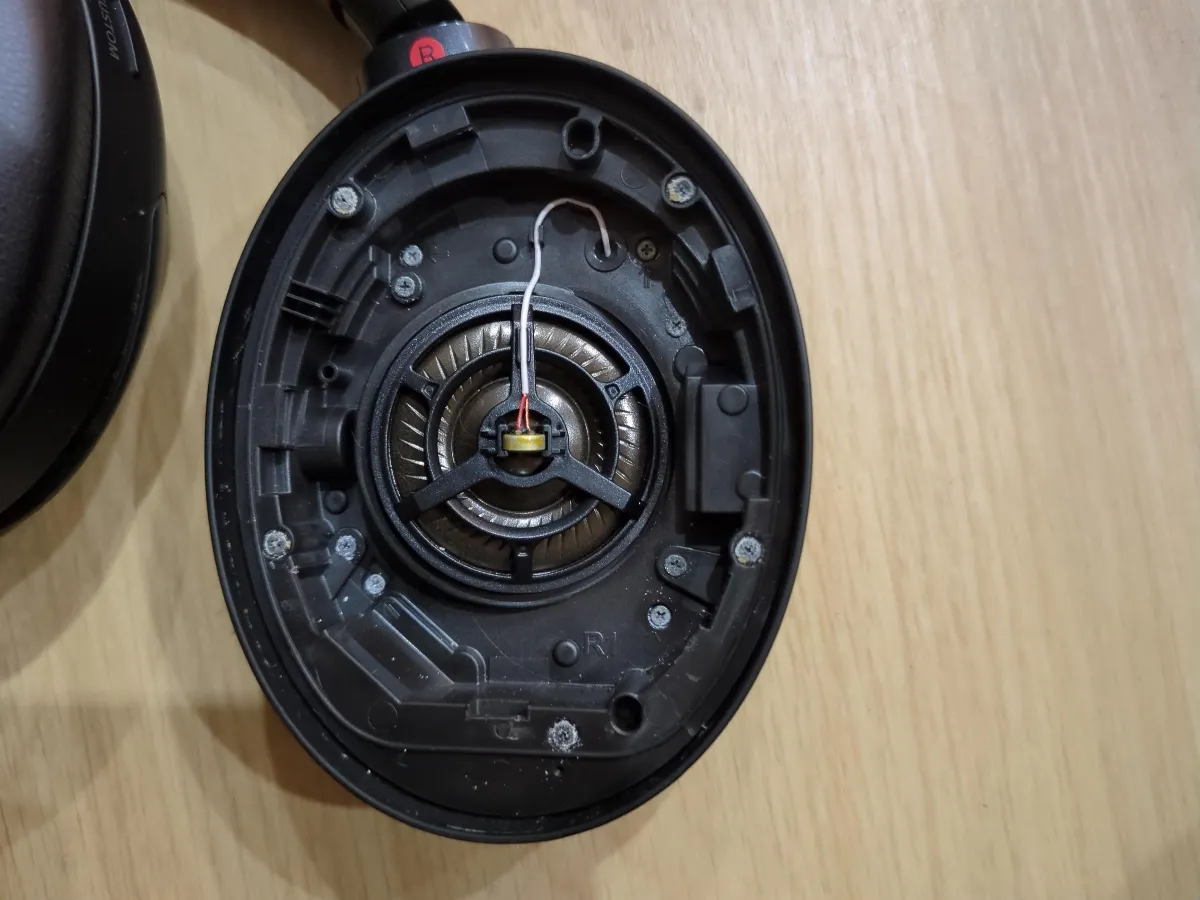
 - Access the driver - Remove the foam covering the driver
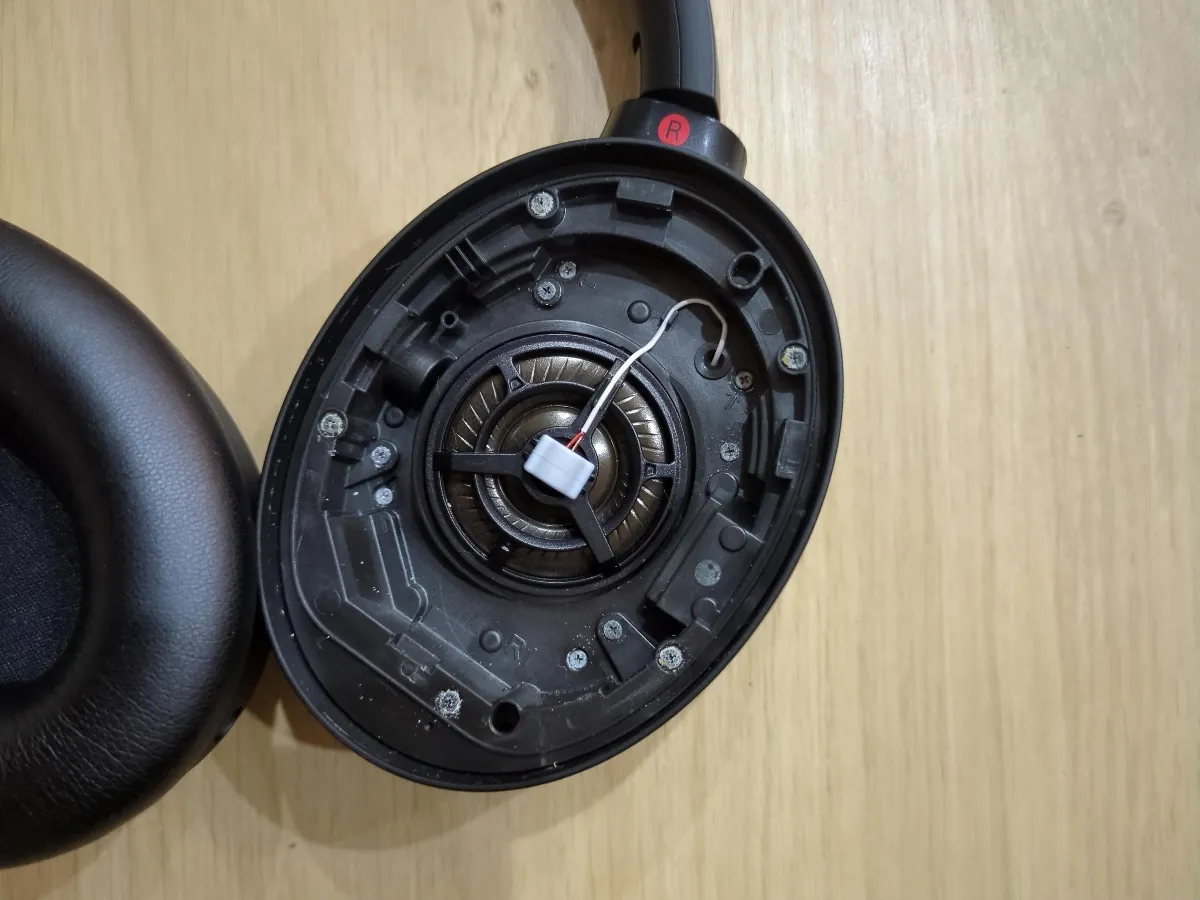 Right foam covering the driver removed
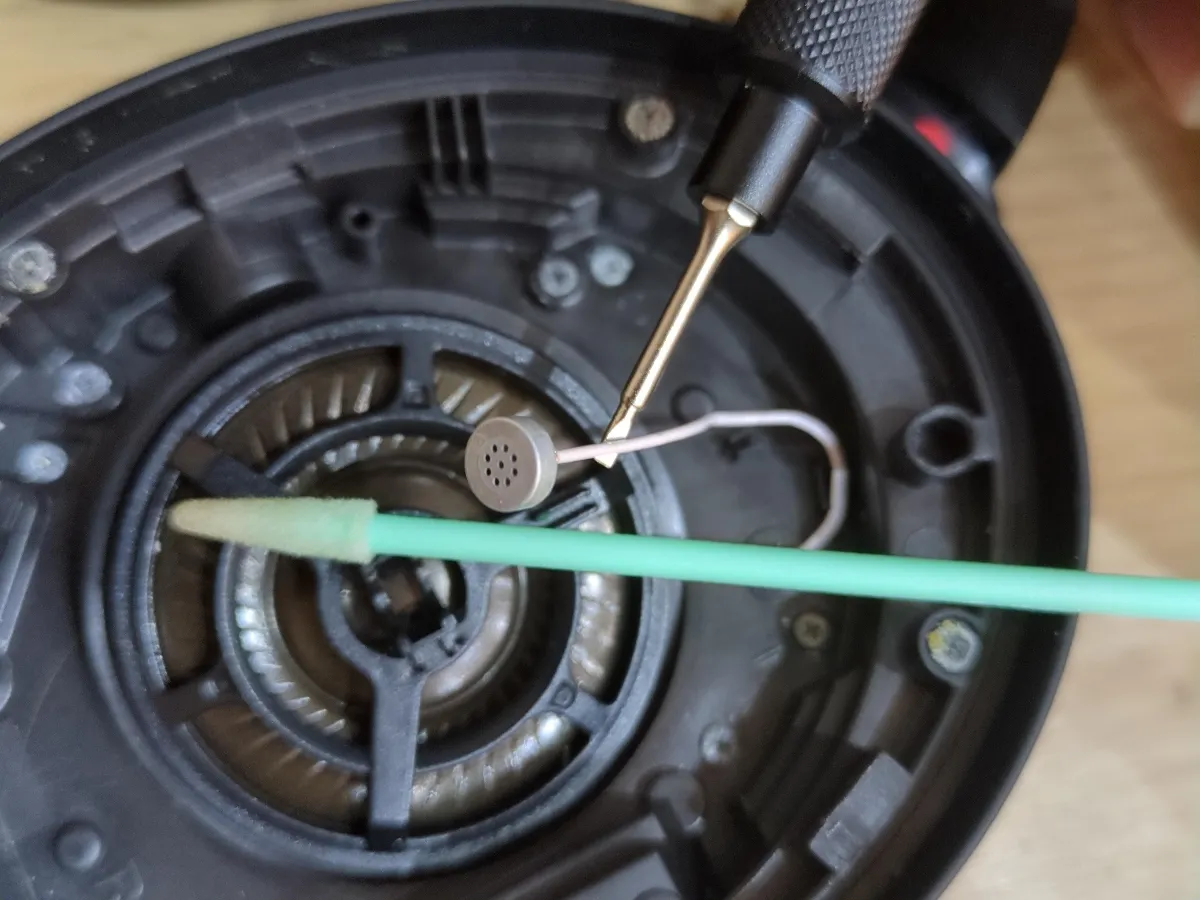
 - Locate the ANC microphone - Carefully remove the rubber cover over the internal ANC microphone just above the driver. Be careful if using a screwdriver as the magnetic speaker driver will attract any ferrous metal and can be easily pierced
 Right ANC microphone cover removed
 - Free the microphone - Unclip the ANC microphone from the earcup, as well as the ANC microphone cable from its cable management
- Clean the microphone - Remove the mesh from the microphone and wipe the microphone clean with isopropyl alcohol
 Right ANC microphone cleaned
 - Bathe the microphone - Submerge the ANC microphone in a small bowl of isopropyl alcohol for 24 hours, periodically agitating the microphone
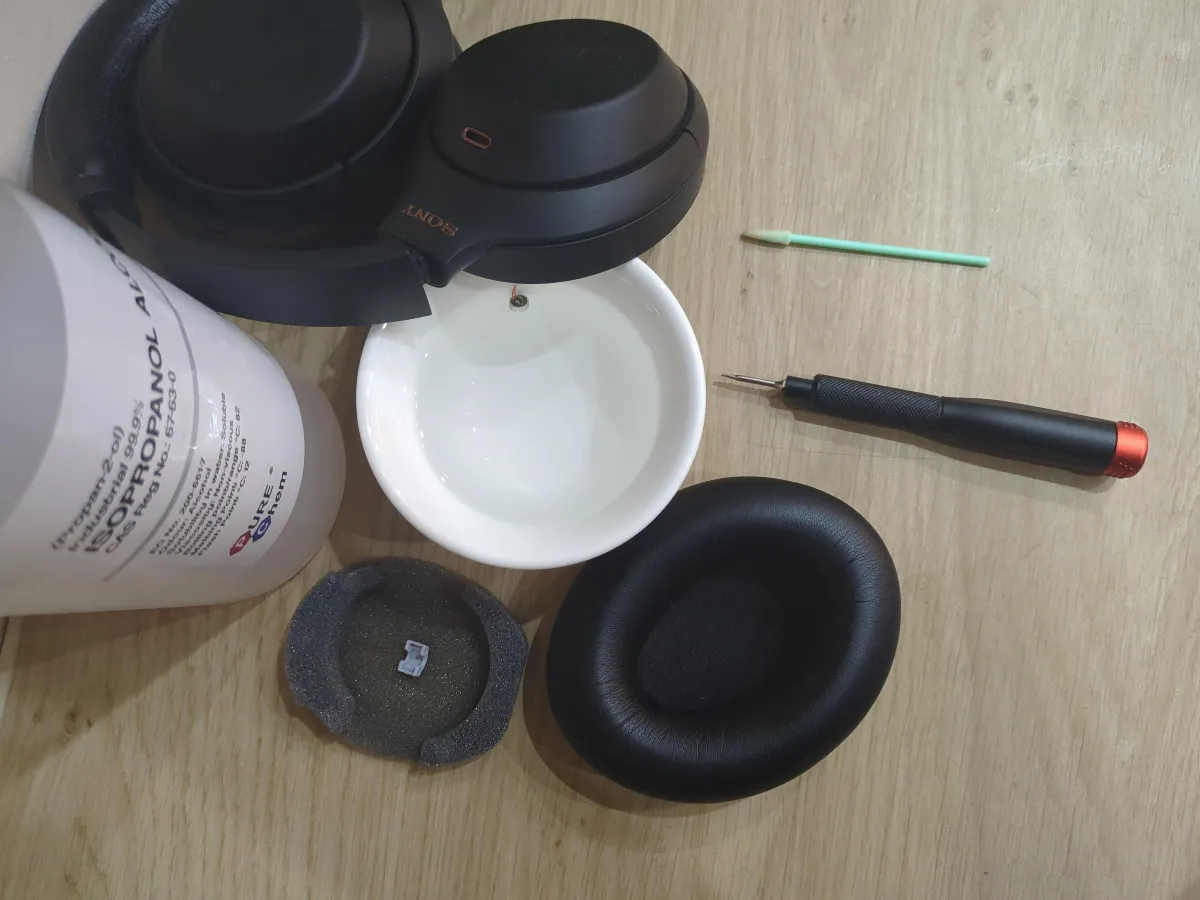 Right ANC microphone in isopropyl alcohol bath
 - Partially air dry - Allow the microphone to partially air dry for 24 hours before reassembling
- Reassemble - Reverse the disassembly process, ensuring all clips are secure
- Fully air dry - You will need to wait for the ANC microphone to air dry for 5+ days before enjoying Active Noise Cancellation or Transparency mode again. It’s quite easy to tell when the microphone hasn’t fully dried as when ANC/Transparency is enabled, it’ll sound like you’re in a wind tunnel.
You can still use the headphones whilst waiting for the microphone to fully dry, simply toggle past ANC and Transparency mode and the windy noise will disappear. Once fully dried, ANC/Transparency mode will work like new again. No high pitched noise! No wind tunnel! Hallelujah!! 🎉
Alternative solution
If this doesn’t work, you can try replacing the microphone entirely. I believe it is the ROM-2235L-HD-R from PUI Audio Inc. If you try this let me know how it goes!
Hypothesis
My hypothesis is that the high-pitched whine in either earcup is due to feedback between the ANC microphone and the speaker driver. Whilst feedback is necessary for ANC to work, the headphones are tuned to process the expected output behaviour of the microphone.
Over time, the ANC microphones may become contaminated and therefore no longer produce the expected output for a given frequency played by the driver. The real answer is likely much more complicated than this due to the problem only occurring, in my experience (most unfortunately), when my ear was present.
Conclusion
This repair gives these excellent headphones a new lease of life. A simple microphone cleaning restores the ANC, and these headphones can keep going for years. Much better than binning them when £10 and an hour of tinkering sorts it out. Especially in this economy :)